Have you ever enjoyed the delicate crunch and subtle bitterness of Belgian endive in a restaurant salad and wondered if you could grow this elegant vegetable at home? Growing Belgian endive (also known as witloof chicory) is a fascinating two-stage process that yields crisp, pale shoots perfect for salads, appetizers, and cooked dishes. While it requires some patience and attention to detail, cultivating your own Belgian endive can be incredibly rewarding, providing you with fresh, chemical-free greens even during winter months when other garden produce is scarce.
Table of Contents
Materials & Supplies
To successfully grow Belgian endive, you’ll need:
- Chicory seeds (specifically ‘Witloof’ varieties)
- Well-draining, fertile garden soil with pH 6.0-7.0
- Garden space for initial growth (minimum 1 sq. ft per 10 plants)
- Compost or balanced fertilizer (10-10-10)
- Garden spade and rake
- Watering can or irrigation system
- Dark storage area (cellar, garage, or basement) for forcing
- Large pots or buckets for the forcing stage
- Sandy soil or peat moss for covering during forcing
- Garden scissors or knife for harvesting
- Thermometer (optional but helpful for monitoring forcing temperatures)
- Row covers (optional for pest protection)
Timing / Growing Schedule
Belgian endive is a unique vegetable with a two-stage growing process spanning approximately 7-8 months total. The initial outdoor growing stage takes 3-4 months (120-150 days) from seed to mature root. Seeds should be planted in spring (April-May) for fall root harvest. After harvesting the roots in fall (typically October), they require a 2-3 week “resting period” in cold storage. The final forcing stage to produce the edible white heads takes 3-4 weeks in darkness. With proper planning, you can enjoy fresh endive from late fall through winter—when most garden vegetables are unavailable.
Step-by-Step Instructions
Prepare and sow seeds: In spring, work your garden soil to remove stones and clumps. Sow seeds ½ inch deep in rows 18-24 inches apart, then thin seedlings to stand 6 inches apart once they reach 2-3 inches tall. Pro tip: Soak seeds overnight before planting to improve germination rates.
Care during growth phase: Keep soil consistently moist but not waterlogged. Apply a balanced fertilizer about 3-4 weeks after seedlings emerge. Weed carefully to avoid disturbing the developing roots.
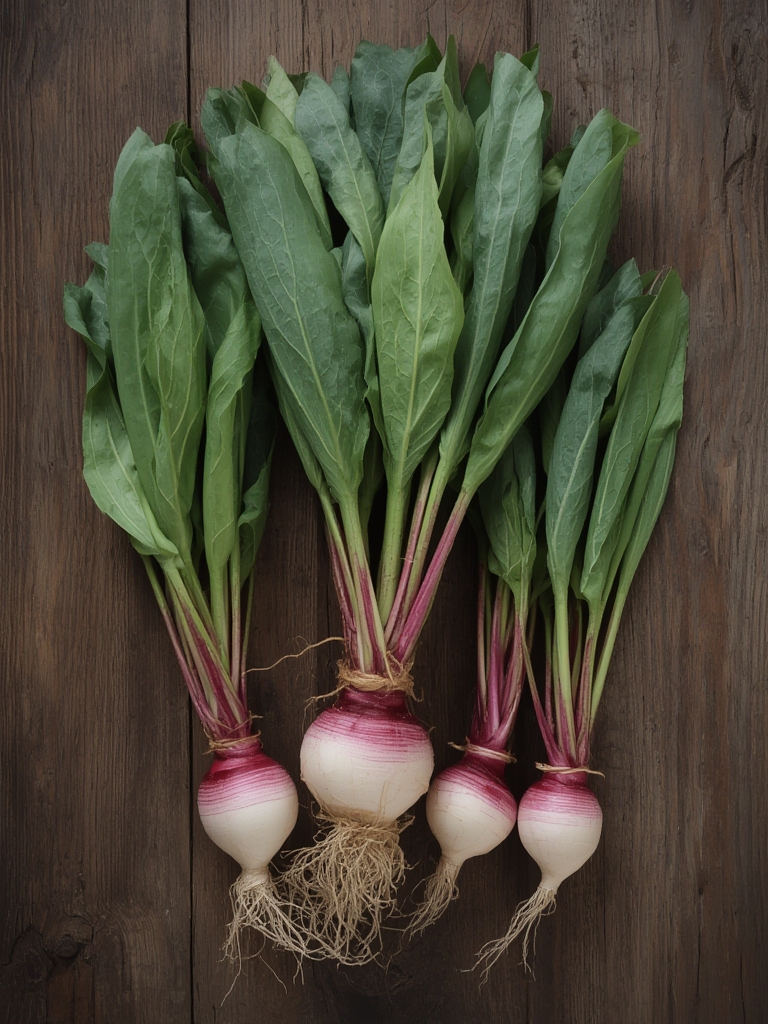
Root development: Allow plants to grow through summer and early fall. The green tops will resemble dandelion leaves, but it’s the roots you’re primarily cultivating.
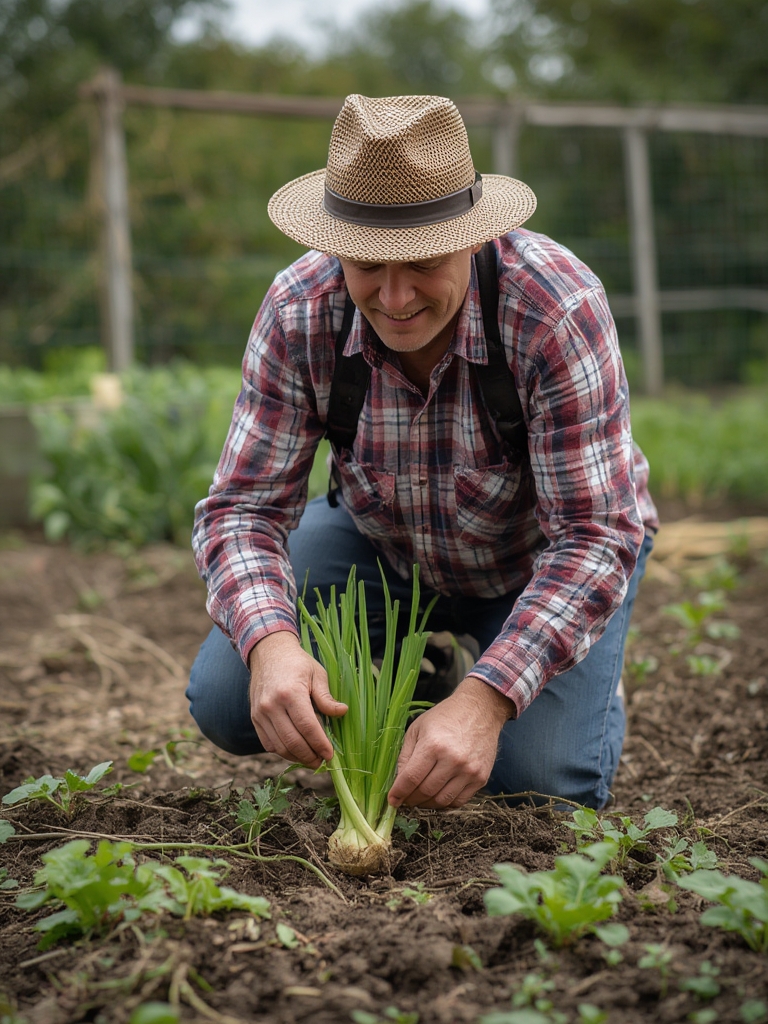
Harvest roots: After first frost or when leaves reach 6-8 inches in height, carefully dig up the roots, which should be 1-2 inches in diameter and 5-8 inches long. Trim the tops to about 1 inch above the crown, being careful not to cut into the growing point.
Prepare for forcing: After the resting period, place roots upright in deep containers with 6-8 inches of loose soil or sand at the bottom. Pack them tightly together with crowns at the same level.
Force the endive heads: Cover the crowns with 6-8 inches of loose soil, sand, or peat moss. Water lightly and place in a dark location at 50-60°F (10-15°C). Maintain even moisture throughout the forcing period.
Harvest the endive heads: After 3-4 weeks, tightly formed pale yellow to white heads will have developed. Cut just above the root with a sharp knife.
Nutritional Benefits
Belgian endive is not just a gourmet treat—it’s packed with nutritional value. This low-calorie vegetable (only 8 calories per head) is rich in vitamins A, K, and B vitamins, particularly folate. It provides minerals including potassium, calcium, and manganese. Endive contains inulin, a prebiotic fiber that supports gut health, and kaempferol, an antioxidant with anti-inflammatory properties. The slightly bitter compounds in endive stimulate digestion, making it both a culinary delicacy and a healthful addition to your diet.
Tips, Alternative Methods, or Gardening Advice
For small spaces, grow endive roots in deep containers (at least 10 inches) during the first phase. In cold climates, start seeds indoors 4-6 weeks before transplanting. For a continuous harvest, stagger your forcing schedule by storing harvested roots in moist sand at 32-40°F for up to 4 months, removing small batches for forcing every few weeks. Try hydroponic forcing by placing cleaned roots in buckets with just enough water to touch the bottom of the roots, keeping the crowns dry and covered.
Common Mistakes to Avoid
Insufficient darkness during forcing: Any light will cause endive heads to turn green and become bitter. Ensure complete darkness with an opaque covering.
Inconsistent watering: Both drought and waterlogging can ruin endive roots. Maintain even soil moisture throughout growth.
Harvesting roots too late: Oversized roots often produce loose, poor-quality heads. Harvest when roots are 1-2 inches in diameter.
Improper temperature during forcing: Too warm (above 65°F) causes loose, poor-quality heads; too cold slows growth. Maintain 50-60°F for optimal results.
Cutting into the crown when trimming leaves: This damages the growing point and prevents proper head formation. Leave 1 inch of leaf above the crown.
Storage / Maintenance Tips
Harvested endive heads will keep in the refrigerator for up to two weeks when wrapped loosely in damp paper towels and stored in a perforated plastic bag. For the roots awaiting forcing, store them in moist sand or sawdust in a cool (32-40°F) dark place. Check periodically for mold or rot, removing affected roots immediately. If you have more endive than you can use immediately, blanch and freeze the heads for later use in cooked dishes.
Conclusion
Growing Belgian endive at home transforms an expensive specialty vegetable into an accessible crop you can enjoy throughout winter. The two-stage growing process—while requiring some patience—results in crisp, tender heads with that distinctive flavor that elevates salads and other dishes. Whether you’re an experienced gardener looking for a new challenge or a food enthusiast seeking the freshest ingredients, Belgian endive is worth the effort. Start with a small batch to master the technique, then expand your planting for a winter-long supply of this gourmet green.
FAQs
Can I grow Belgian endive indoors from start to finish?
While you can start seeds indoors, the root development phase requires deeper soil than most indoor containers provide. However, you can grow endive microgreens indoors year-round for a similar flavor profile.
Why did my endive heads turn green?
Exposure to light during the forcing stage causes greening and increased bitterness. Ensure complete darkness by using light-proof containers or covering material.
Can I eat the green tops from the first growing phase?
Yes! The green leaves from the initial growing stage are edible, though more bitter than forced heads. They make excellent additions to mixed salads or can be cooked like other bitter greens.
How many endive heads can I get from each root?
Each root typically produces one high-quality head during forcing. After harvesting the first head, some gardeners return the root to forcing conditions for a second, smaller head, though quality diminishes with each harvest.
Is Belgian endive the same as frisée or escarole?
No, though they’re all in the chicory family. Belgian endive (witloof) is specifically grown for its forced pale heads, while frisée and escarole are leafy varieties grown for their green leaves without the forcing process.