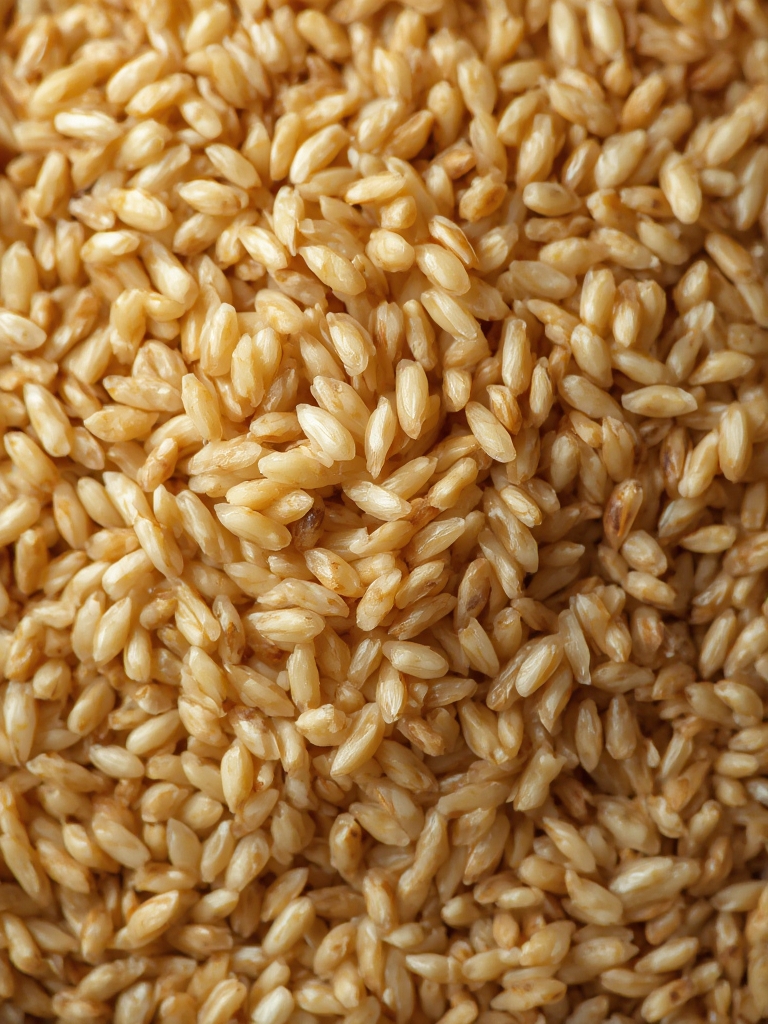
Have you ever wondered if you could grow your own brown rice at home? Growing brown rice in your garden isn’t just possible—it’s a rewarding experience that connects you to one of humanity’s most essential foods. Brown rice, the whole grain version of rice with only the outermost hull removed, retains more nutrients than white rice and makes an excellent addition to any home garden. With proper planning and care, you can cultivate this nutritious grain right in your backyard, balancing both sustainability and food security in your household.
Table of Contents
Materials & Supplies
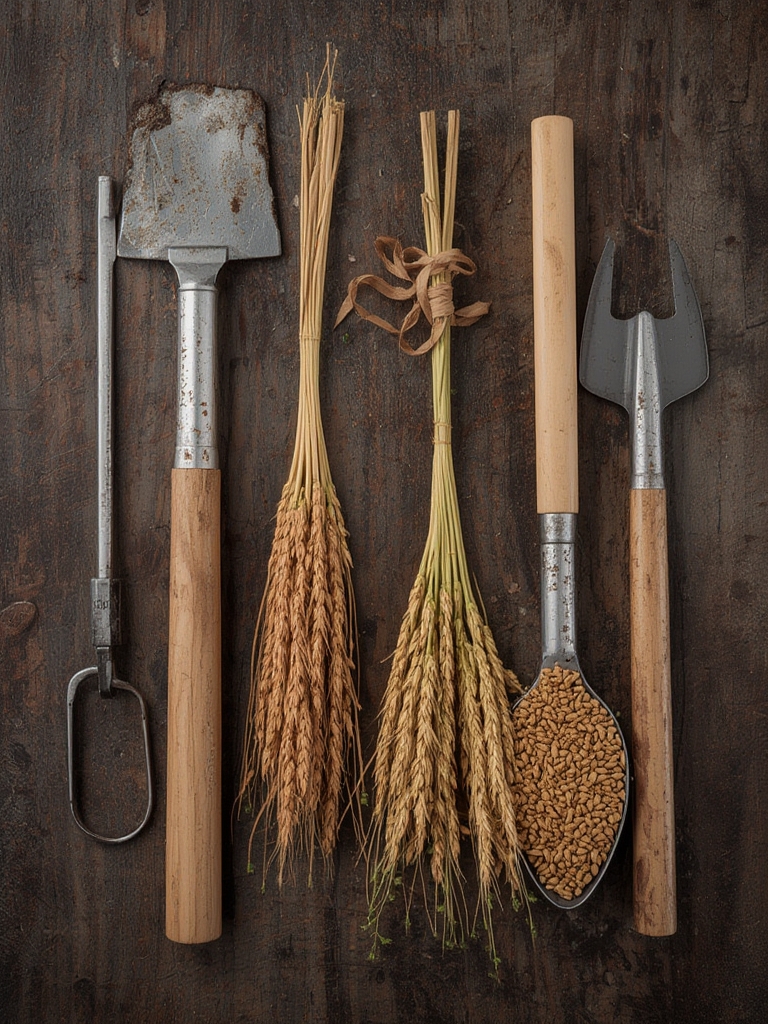
To successfully grow brown rice at home, you’ll need:
- Brown rice seeds/grains: Unhulled, organic brown rice seeds work best (avoid using treated rice from grocery stores)
- Growing containers: Large, shallow containers at least 6 inches deep with drainage holes
- Growing medium: Well-draining, nutrient-rich soil mixed with compost
- Watering equipment: Spray bottle for initial growth, watering can for established plants
- Plastic wrap: For creating humidity during germination
- Plant food: Nitrogen-rich fertilizer (organic options preferred)
- Harvesting tools: Sharp scissors or pruning shears
- Drying racks or sheets: For post-harvest processing
Optional items include a pH testing kit (rice prefers slightly acidic soil of 6.0-6.5), shade cloth for hot climates, and burlap bags for storage after harvesting.
Timing / Growing Schedule
Brown rice requires a long, warm growing season of 3-6 months from planting to harvest. Plan to start your rice in early spring after the last frost, aiming for planting when soil temperatures reach at least 70°F (21°C). Germination takes 1-2 weeks, with seedling establishment requiring another 2-3 weeks. The main growth phase spans 2-3 months, followed by a 3-4 week flowering and grain development period. Harvesting typically occurs in late summer or early fall, when the rice stalks turn golden-brown.
Step-by-Step Instructions
Seed preparation: Soak unhulled brown rice seeds in water for 24-36 hours until they begin swelling. Change water every 12 hours to prevent fermentation.
Planting: Fill your container with 4-5 inches of soil mixture. Spread pre-soaked seeds evenly, allowing about 1 inch between seeds. Cover with ½ inch of soil and gently mist with water.
Creating humidity: Cover containers with plastic wrap to create greenhouse-like conditions. Place in a warm area with indirect sunlight.
Initial growth: Once seedlings emerge (7-14 days), remove plastic wrap and move containers to a location receiving 6-8 hours of direct sunlight daily.
Flooding cycle: When seedlings reach 5-6 inches tall, begin the flooding cycle. Add water until it stands 1-2 inches above soil level. Let water levels drop naturally before reflooding.
Fertilizing: Add nitrogen-rich fertilizer when plants reach 12 inches tall, following package directions but using half-strength solution.
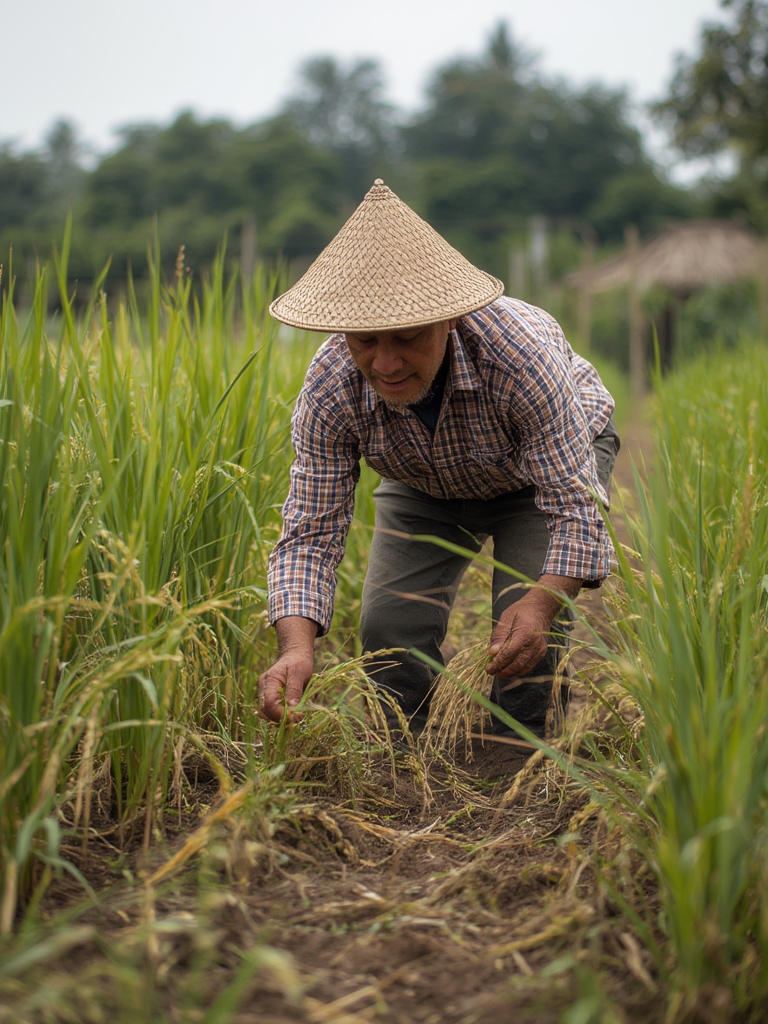
Harvesting: When rice stalks turn golden and grain heads bend downward (usually 3-6 months after planting), cut stalks 4-6 inches above soil level.
Nutritional Benefits
Home-grown brown rice provides exceptional nutritional value with higher levels of fiber, vitamins, and minerals than store-bought varieties. It contains essential B vitamins, magnesium, phosphorus, and manganese. Growing your own ensures zero pesticide exposure and maximum freshness, preserving delicate oils that often turn rancid in store-bought rice.
Tips and Alternative Methods
Container gardening works exceptionally well for brown rice in limited spaces. For indoor growing, use grow lights providing 12-14 hours of light daily. In cooler climates, start seeds indoors and transplant outside when temperatures consistently exceed 70°F. Consider companion planting with azolla (water fern) to naturally provide nitrogen and reduce weed competition.
Common Mistakes to Avoid
- Insufficient water: Brown rice needs consistent moisture; never let the soil dry completely during the growing season.
- Overcrowding plants: Thin seedlings to prevent competition for nutrients and reduce disease risk.
- Poor drainage: While rice loves water, it shouldn’t sit in stagnant water continuously; ensure proper drainage between flooding cycles.
- Harvesting too early: Wait until grains are fully mature before harvesting to ensure proper development.
Storage / Maintenance Tips
After harvesting, dry rice stalks in bundles upside down in a warm, well-ventilated area for 2-3 weeks. Once dry, remove grains by hand or by gently beating stalks against a hard surface over a collection sheet. Store unhulled rice in airtight containers in a cool, dry place for up to a year. For longer-term storage, keep in the freezer.
Conclusion
Growing brown rice at home connects you with an ancient agricultural tradition while providing nutritious, fresh grain for your table. Though it requires patience and attention to detail, the satisfaction of harvesting your own rice makes the effort worthwhile. Start with a small batch to build your confidence before scaling up. We’d love to hear about your brown rice growing journey in the comments below!
FAQs
Can brown rice be grown in any climate?
Brown rice grows best in warm climates with temperatures between 70-90°F (21-32°C). In cooler regions, choose short-season varieties and consider greenhouse cultivation.
How much rice can I expect to harvest?
A 4×4 foot garden plot can yield approximately 3-5 pounds of unhulled rice, which translates to about 2-3 pounds after processing.
Is growing rice at home water-intensive?
Yes, rice requires significant water, but home gardeners can practice conservation by recirculating water and using mulch to reduce evaporation.
Do I need special equipment to hull homegrown rice?
While commercial equipment exists, home gardeners can use manual methods like rubbing rice between hands or using a mortar and pestle to remove hulls for small batches.