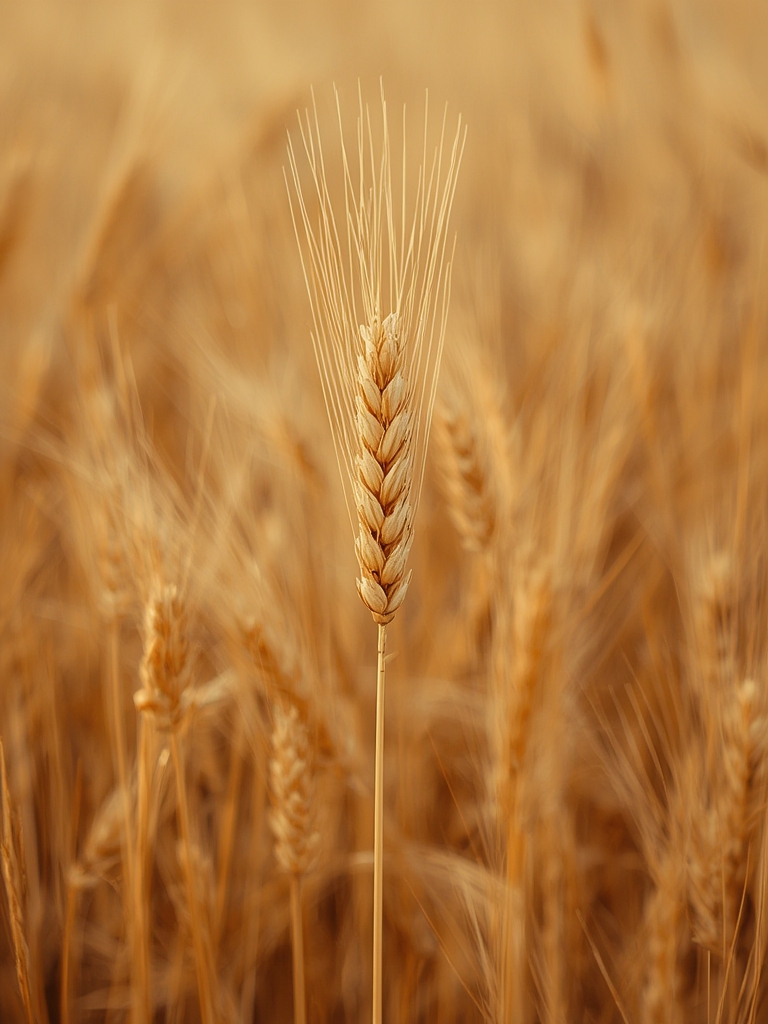
Have you ever wondered what it would be like to harvest your own grains right from your backyard? Growing barley at home might seem intimidating, but it’s actually one of the most accessible grain crops for home gardeners. As one of the world’s oldest cultivated grains, barley offers not just the satisfaction of growing your own food but also nutritional benefits and the charm of watching golden stalks sway in the breeze. Whether you have a small garden plot or even just some containers, barley can be grown successfully with minimal equipment and moderate attention.
Table of Contents
Materials & Supplies
To start your home barley growing journey, you’ll need:
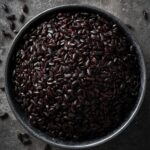
- Barley Seeds: Look for hulled barley varieties like ‘Robust’ or ‘Conlon’ that are adapted to home growing
- Garden Space or Containers: A minimum 4×4 foot plot or large containers (at least 12 inches deep)
- Basic Soil: Well-draining soil with moderate fertility
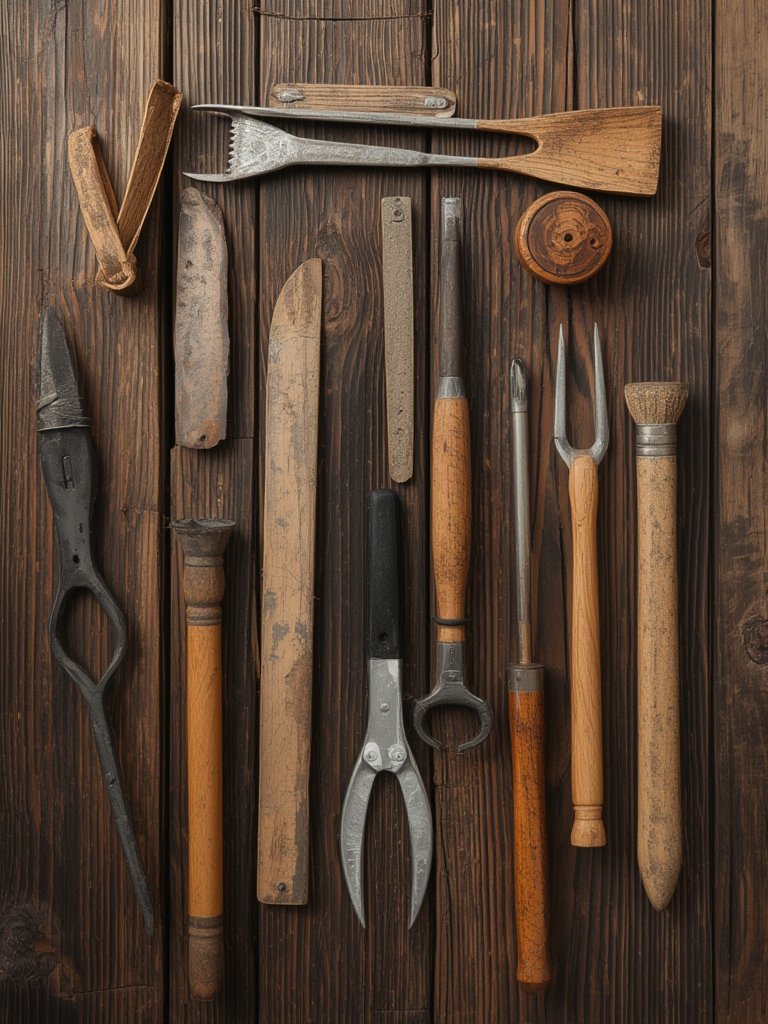
- Garden Tools: Spade or garden fork, rake, and watering can
- Mulch: Straw or dried grass clippings (optional)
- pH Testing Kit: Barley prefers slightly acidic to neutral soil (6.0-7.0)
- Organic Fertilizer: A balanced NPK fertilizer if your soil needs enrichment
Timing / Growing Schedule
Barley is quite versatile when it comes to planting seasons. Spring barley should be planted as soon as soil can be worked in early spring (March-April in most regions). Winter barley varieties get planted in early fall (September-October). From planting to harvest, expect:
- Preparation: 1-2 days for soil preparation
- Germination: 7-14 days
- Growth Period: 60-90 days for spring varieties, 240-270 days for winter varieties
- Total Time to Harvest: Approximately 3 months for spring barley, 8-9 months for winter barley
Compared to wheat, barley typically matures 10-14 days earlier, making it ideal for regions with shorter growing seasons.
Step-by-Step Instructions
Prepare Your Growing Area: Clear the area of weeds and rocks. Break up compacted soil and incorporate compost if available.
Test and Amend Soil: Barley prefers pH between 6.0-7.0. Add lime to raise pH or sulfur to lower it as needed based on your soil test.
Sow the Seeds: Scatter seeds evenly across your prepared area, aiming for about 25-30 seeds per square foot. Rake lightly to cover seeds with ¼ to ½ inch of soil.
Water Thoroughly: Provide a gentle, even watering after planting. The soil should be moist but not waterlogged.
Thin Seedlings: Once plants reach 2-3 inches tall, thin them to stand about 4 inches apart for proper growth.
Maintenance: Water only during dry spells as barley is relatively drought-tolerant once established.
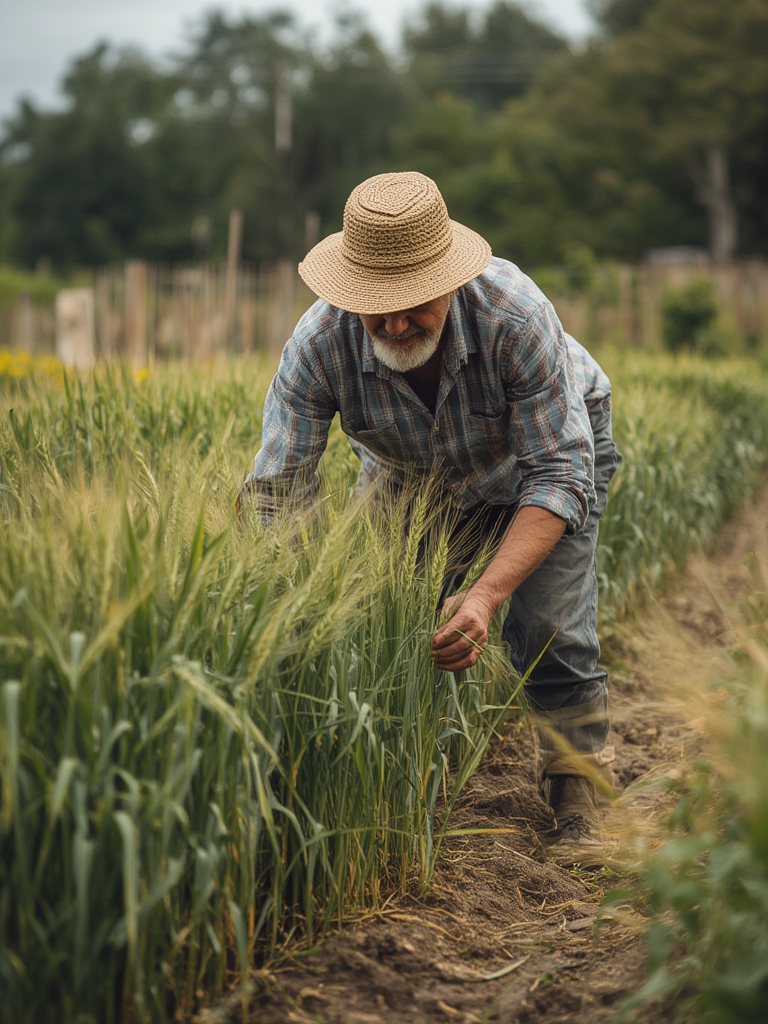
Harvest: When the stalks turn golden and the heads bend over, the grain is ready. Cut stalks near the base using garden scissors or a sickle.
Nutritional Benefits
Homegrown barley offers impressive nutritional benefits, including high fiber content (especially beta-glucan), which helps lower cholesterol and improve digestive health. It’s rich in vitamins B1, B3, and B6, along with minerals like selenium, manganese, and magnesium. Growing your own ensures you get the freshest product without commercial preservatives or treatments.
Tips and Alternative Methods
- Container Growing: Use large pots at least 12 inches deep with drainage holes. Mix potting soil with compost for best results.
- Indoor Growing: Barley can be grown indoors for barley grass (for juicing) under grow lights.
- Succession Planting: Plant small patches every 2-3 weeks for continuous harvests.
- Companion Planting: Grow with legumes like peas to naturally enrich soil nitrogen.
- Climate Adaptations: In hot climates, choose winter barley and provide afternoon shade. In cold regions, use spring varieties with mulch protection.
Common Mistakes to Avoid
- Overwatering: Barley roots can rot in waterlogged soil. Water only when the top inch of soil feels dry.
- Poor Spacing: Overcrowded plants compete for nutrients and are more susceptible to disease. Don’t skip the thinning step.
- Harvesting Too Late: Delayed harvesting can lead to grain shattering. Harvest when stalks are golden but before they become brittle.
- Ignoring Soil pH: Barley struggles in highly acidic soils. Take time to test and adjust pH before planting.
Storage and Maintenance Tips
After harvesting, dry barley heads completely by hanging them upside down in a well-ventilated area for 1-2 weeks. To thresh, rub dried heads between your hands over a large container. Store cleaned barley in airtight containers in a cool, dry place for up to a year.
For growing areas, practice crop rotation to prevent soil depletion and disease buildup. Consider planting cover crops like clover during off-seasons to enrich the soil for next year’s barley.
Conclusion
Growing barley at home connects you with thousands of years of agricultural tradition while providing nutritious grain for your table. With minimal space requirements and relatively simple care, it’s an excellent introduction to growing your own grains. The satisfaction of making bread, soup, or homebrew from barley you’ve grown yourself is unmatched. Why not set aside a small section of your garden this season and experience the joy of growing this ancient grain?
FAQs
How much barley can I expect to harvest from a small garden plot?
A 4×4 foot plot can yield approximately 1-2 pounds of barley grains, depending on growing conditions and variety.
Can I grow barley just for its greens?
Yes! Barley grass is highly nutritious and can be harvested when young (7-10 days) for juicing or adding to smoothies.
Do I need special equipment to process barley after harvest?
For small-scale growing, you can hand-process by drying, threshing (rubbing heads between hands), and winnowing (using a fan to blow away chaff).
Is homegrown barley ready to cook immediately after harvesting?
Most homegrown barley will be “hulled” and requires further processing to remove the inedible outer hull before cooking, unlike “pearled” barley from stores.