Introduction
Do you constantly forget to water your plants? Have you ever returned from vacation to find your beloved greenery wilted and struggling? A plastic bottle plant waterer might be the simple, budget-friendly solution you’ve been searching for. This clever DIY watering hack transforms ordinary plastic bottles into automated irrigation systems that keep your plants hydrated for days—or even weeks—without constant attention. Whether you’re a busy professional, a frequent traveler, or simply someone who wants a more sustainable approach to plant care, creating your own plastic bottle plant waterer is both easy and incredibly effective. In this comprehensive guide, we’ll walk you through everything you need to know to build and use this ingenious watering system.
Table of Contents
Materials & Supplies
Before you begin crafting your plastic bottle plant waterer, gather these essential materials:
Required Items:
- Clean plastic bottles (500ml to 2L depending on plant size)
- Sharp utility knife or scissors
- Cotton string, yarn, or twine (natural fibers work best)
- Potting soil appropriate for your plants
- Small stones or gravel (optional, for drainage)
- A plant pot with drainage holes
Optional Enhancements:
- Watering spikes designed for bottles (available at garden centers)
- Drill with small bits (for creating precise holes)
- Water-soluble fertilizer
- Plastic wrap or tape (for covering during travel)
Most of these items are likely already in your home, making this project virtually free. The cotton string is particularly important—synthetic materials won’t absorb and distribute water effectively.
Timing / Growing Schedule
One of the greatest advantages of using a plastic bottle plant waterer is its flexibility across different timeframes:
- Setup Time: 10-15 minutes to prepare your first bottle waterer
- Immediate Use: System begins working within 24 hours of installation
- Duration of Hydration: 3-7 days of consistent moisture per bottle (longer with larger bottles)
- Extended Travel: 2-3 bottles connected can sustain plants for 2-3 weeks
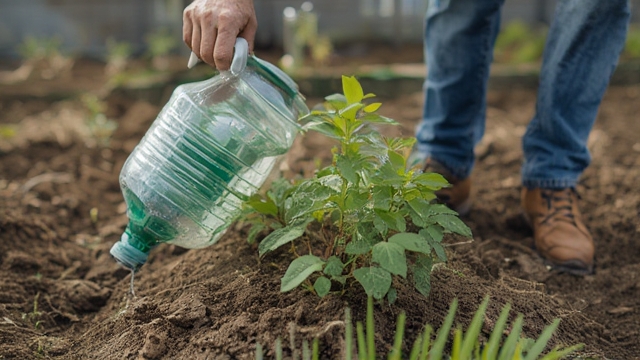
Compared to traditional watering methods, this system requires minimal initial investment of time but provides ongoing benefits. For outdoor gardens, you can set up multiple bottle waterers along garden beds before a weekend trip with confidence.
Step-by-Step Instructions
Step 1: Prepare the Bottle
Clean your plastic bottle thoroughly and remove any labels. Using your utility knife, carefully poke 2-3 small drainage holes in the bottle’s cap or bottom—these control the water release rate. For beginners, start with smaller holes; you can enlarge them if water flows too slowly.
Step 2: Create the Wick
Cut a length of cotton string approximately 12-18 inches long. Thread one end through one of the holes in the bottle cap, leaving about 2 inches inside the bottle. Knot the interior end to secure it in place.
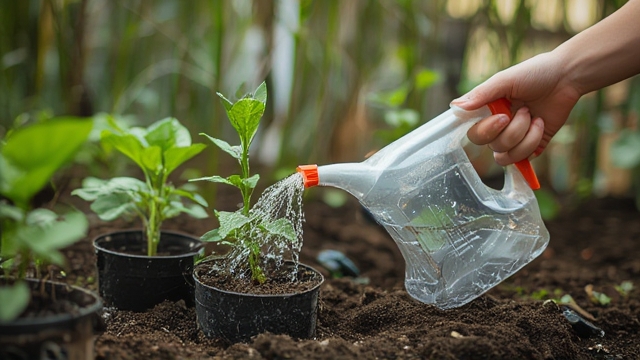
Step 3: Position Your Bottle
Place the bottle upside down (cap down) in your plant pot, positioning it near the plant’s base. The string should extend down into the soil, making contact with the root zone. You may need to create a small hole in the soil to secure the bottle’s position.
Step 4: Fill and Test
Fill the bottle with water, ensuring the wick is saturated. Place the cap back on (with holes facing down) and watch how water slowly drips through. Adjust hole sizes if water flows too quickly or too slowly. The ideal rate is 5-10 drops per minute.
Step 5: Optional Fertilization
Mix water-soluble fertilizer into your bottle waterer for an all-in-one feeding and watering solution. Use half the recommended concentration to prevent nutrient burn.
Benefits of the Plastic Bottle Plant Waterer
Beyond convenience, this DIY system offers significant advantages:
- Water Conservation: Direct root watering reduces evaporation and runoff by up to 50%
- Consistent Moisture: Prevents the feast-or-famine watering cycle that stresses plants
- Cost-Effective: Repurposes waste materials into functional garden tools
- Portable Solution: Easily relocate your watering system when rearranging plants
- Root Development: Encourages deeper root growth as plants search for moisture
Tips, Alternative Methods, and Gardening Advice
Variations to Consider:
- For Larger Plants: Use multiple 2L bottles connected via tubing
- Indoor Growing: Employ decorative bottles or paint them to match your décor
- For Hanging Plants: Suspend bottles above the pot with wire supports
- Climate Adaptation: In humid climates, reduce hole sizes; in dry climates, increase them
Small Space Solutions:
Apartment dwellers can use miniature bottle waterers for windowsill herbs and small potted plants. Simply scale down bottle size and use thinner wicking material.
Common Mistakes to Avoid
| Mistake | Problem | Solution |
|---|---|---|
| Using synthetic wicks | Water won’t absorb properly | Always use natural cotton or wool fibers |
| Drilling holes too large | Soil becomes waterlogged | Start small; test before permanent installation |
| Placing bottle too far from roots | Wicking fails to reach plant | Position bottle within 2 inches of stem |
| Skipping the cap | Insects may enter bottle | Always use caps with properly sized holes |
| Using dirty water | Clogs wicking system | Use clean, filtered water when possible |
Storage and Maintenance Tips
- Monthly: Remove bottles and clean wicks to prevent mineral buildup
- Seasonal: Inspect holes for clogs and clear with a thin wire if needed
- Long-term: Replace cotton wicks every 3-4 months as they decompose
- Winter Care: Empty and store bottles indoors during freezing temperatures
- Sanitation: Soak bottles in diluted vinegar solution quarterly
Conclusion
Creating a plastic bottle plant waterer is one of the simplest yet most effective DIY gardening projects you can undertake. With minimal materials, virtually no cost, and just fifteen minutes of your time, you can build a sustainable watering system that benefits both your plants and the environment. This hack is perfect for busy individuals, frequent travelers, and eco-conscious gardeners looking to reduce waste while improving plant health.
Ready to give it a try? Start with one bottle waterer on your favorite plant this week and observe the results. Your plants will thank you—and you’ll never worry about forgotten watering again.
Have you tried this DIY hack? Share your experience in the comments below!
Frequently Asked Questions
How long does a plastic bottle plant waterer actually last?
A standard 500ml bottle typically provides 3-5 days of watering, while a 2L bottle can sustain plants for up to two weeks. Actual duration depends on plant type, climate, and hole size.
Will this system work for all types of plants?
It’s most effective for medium-moisture plants like tomatoes, peppers, herbs, and most houseplants. Succulents and cacti may receive too much moisture, so monitor closely or use smaller bottles.
Can I use this method outdoors in rain?
Yes, but you may need to cover the bottle or reduce its water capacity during rainy seasons to prevent overwatering. The system works best as a supplement to natural rainfall.
What’s the ideal bottle size for herbs?
For kitchen herbs like basil, mint, or cilantro, a 500ml bottle inverted in a 6-inch pot works perfectly. Adjust hole sizes for more delicate herbs.
How do I know if my plant is getting too much or too little water?
Check the soil moisture daily for the first week. If the top inch remains soggy, reduce hole size. If it dries quickly, enlarge the holes or add an additional bottle.