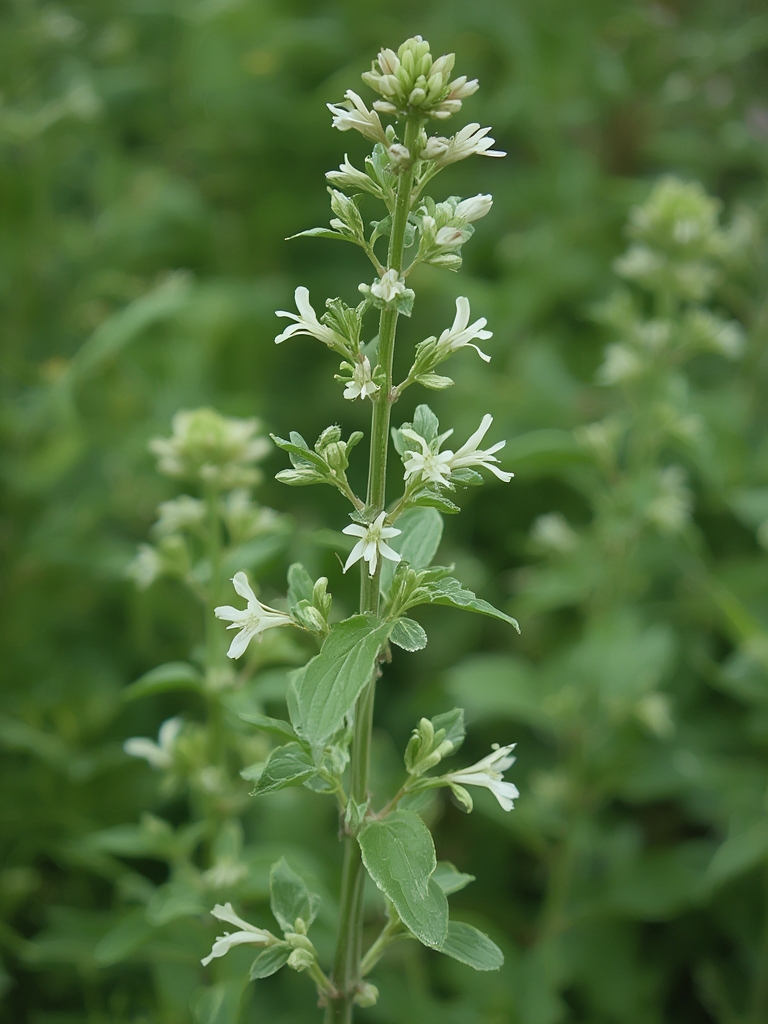
Have you ever dreamed of stepping into your garden and plucking fresh, aromatic herbs for tonight’s dinner? Growing marjoram might be the perfect place to start. This versatile Mediterranean herb, with its subtle pine and citrus notes, brings a delightful flavor to various dishes and offers surprising simplicity for home gardeners. Whether you’re a seasoned green thumb or a curious beginner, marjoram can thrive in your garden with the right approach, delivering both culinary delight and garden beauty.
Table of Contents
Materials & Supplies
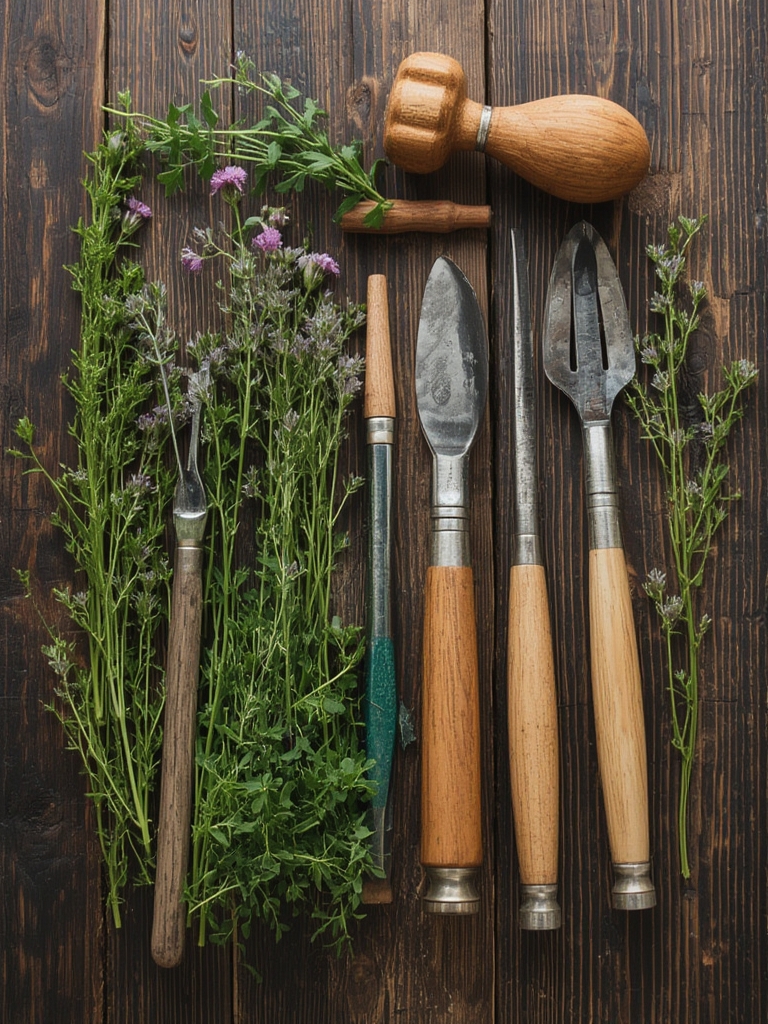
To get started with your marjoram garden, you’ll need:
- Marjoram seeds or seedlings: Choose organic seeds or healthy young plants from a reputable nursery
- Well-draining potting mix: Preferably with a pH between 6.0 and 8.0
- Containers: 8-inch pots with drainage holes (if container gardening)
- Garden space: A sunny spot with well-draining soil (if planting outdoors)
- Watering can: With fine spray for gentle irrigation
- Organic fertilizer: Mild, herb-specific fertilizer or compost
- Pruning shears: Small, clean scissors for harvesting
- Plant markers: To identify your marjoram
- Mulch: Light organic material to retain moisture (optional)
- Humidity tray: For indoor growing during winter months (optional)
Timing / Growing Schedule
Marjoram grows best when started indoors 6-8 weeks before the last spring frost. Outdoor planting should occur after all danger of frost has passed. From seed to first harvest typically takes 60-70 days, while seedlings may produce usable leaves within 30 days. Unlike basil or cilantro, marjoram is actually a perennial in zones 7-10, meaning with proper care, it can continue producing for years, though it’s often grown as an annual in colder regions.
Step-by-Step Instructions
Prepare your planting area: Choose a location with 6-8 hours of sunlight daily. If using containers, fill with well-draining potting mix, leaving 1 inch of space at the top.
Start seeds or transplant: Sprinkle seeds lightly on soil surface and cover with ¼ inch of soil, or place seedlings at the same depth they were growing previously. Space plants 12 inches apart.
Water properly: Moisten the soil thoroughly after planting, then water only when the top inch feels dry. Pro tip: Water at the base rather than overhead to prevent leaf diseases.
Provide ongoing care: Apply a light application of organic fertilizer monthly during the growing season, but avoid over-fertilizing which reduces flavor intensity.
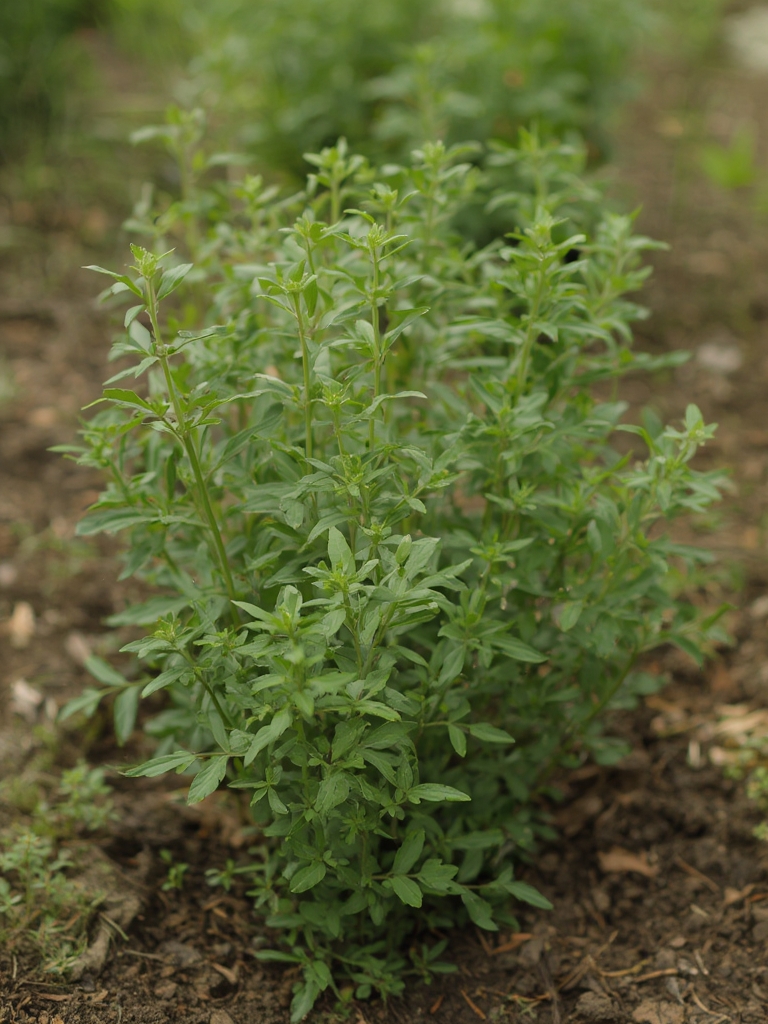
Harvest regularly: Begin harvesting when plants reach 6 inches tall, taking no more than one-third of the plant at once. Morning harvesting ensures maximum flavor.
Nutritional Benefits / Advantages
Marjoram offers impressive health benefits beyond its culinary uses. Rich in antioxidants and vitamin K, it supports immune function and bone health. The herb contains compounds with anti-inflammatory properties and may help with digestive issues. As a garden plant, marjoram attracts beneficial pollinators while repelling certain garden pests, creating a healthier ecosystem in your garden naturally.
Tips, Alternative Methods, or Gardening Advice
For small spaces, marjoram grows beautifully in hanging baskets or window boxes. In cold climates, bring potted plants indoors before the first frost and place near a sunny window. Consider companion planting marjoram with tomatoes or peppers to enhance their flavor. For a continuous supply, start new plants every few weeks during the growing season, and pinch flower buds to extend leaf production.
Common Mistakes to Avoid
- Overwatering: Marjoram prefers drier conditions; soggy soil leads to root rot
- Insufficient sunlight: Results in leggy, weak growth with diminished flavor
- Overcrowding: Reduces air circulation, potentially causing fungal issues
- Overharvesting: Taking more than one-third of the plant stresses it
- Allowing flowering: Unless saving seeds, remove flower buds to maintain leaf production
Storage / Maintenance Tips
Store freshly harvested marjoram by wrapping stems in damp paper towels and refrigerating for up to one week. For long-term storage, dry bundles of stems by hanging upside down in a warm, dry place until leaves crumble easily. In perennial zones, cut plants back by one-third in late fall, and apply a light mulch around the base for winter protection.
Conclusion
Growing marjoram rewards gardeners with aromatic, flavorful leaves while requiring minimal effort. Whether in containers on your kitchen windowsill or integrated into your garden landscape, this versatile herb delivers both culinary and ornamental value. Start with the basics outlined here, and you’ll soon discover why this Mediterranean gem has been treasured for centuries. Ready to enhance your home cooking with homegrown marjoram? Your garden awaits!
FAQs
Can marjoram be grown indoors year-round?
Yes, marjoram thrives indoors near a sunny south-facing window or under grow lights, providing at least 6 hours of light daily and good air circulation.
How is marjoram different from oregano?
Though related, marjoram offers a milder, sweeter flavor compared to oregano’s stronger, spicier profile. Marjoram’s leaves are also typically lighter green and more oval-shaped.
Why are my marjoram leaves turning yellow?
Yellowing usually indicates overwatering or poor drainage. Reduce watering frequency and ensure containers have proper drainage holes.
Can I harvest marjoram in winter?
In zones 7-10, light winter harvesting is possible. In colder regions, bring plants indoors before frost for continued harvesting, though growth will slow significantly.