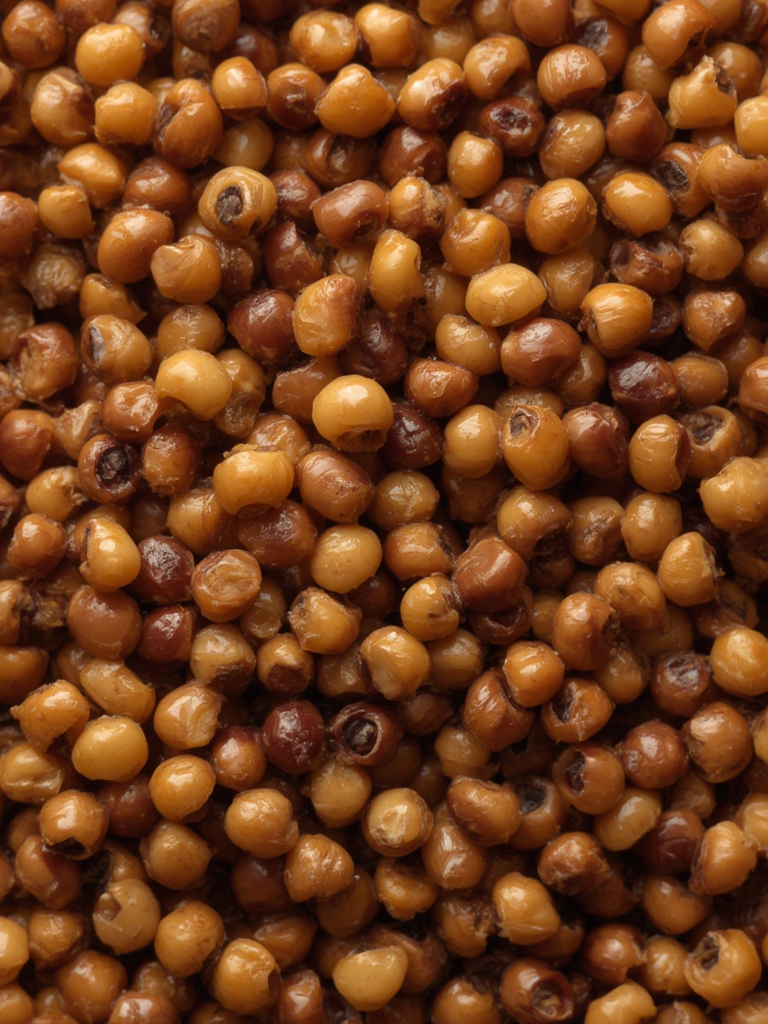
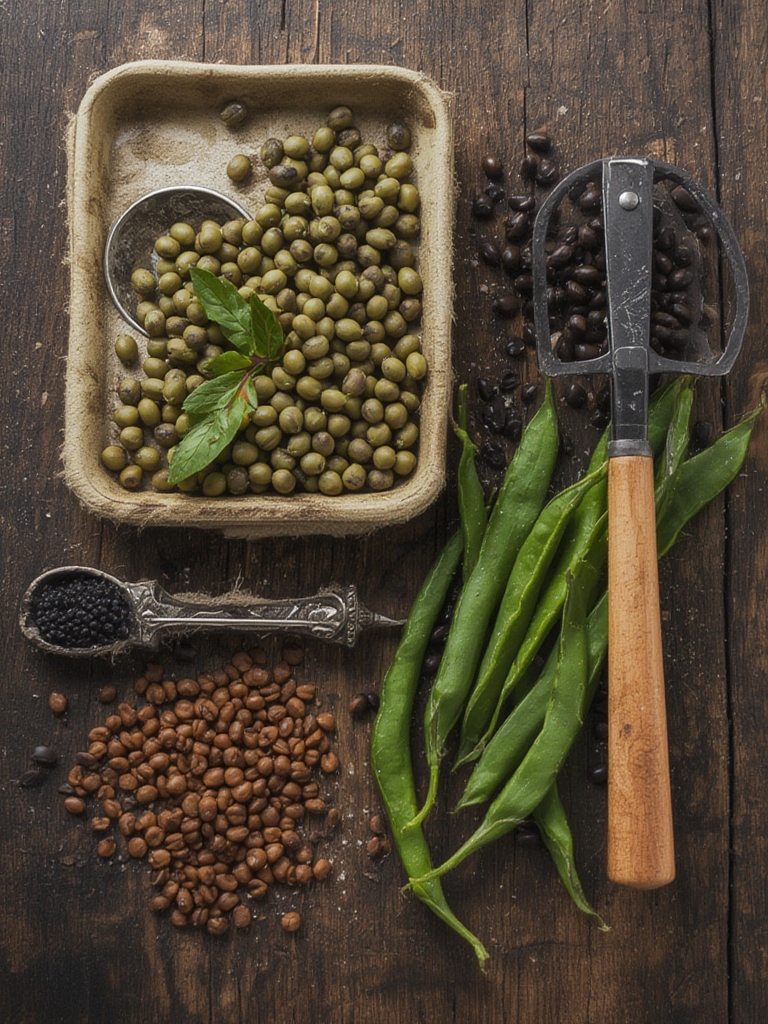
Have you ever tasted the earthy, nutty flavor of freshly harvested black-eyed peas? Growing your own black-eyed peas (Vigna unguiculata) can be one of the most rewarding summer gardening projects, offering not just delicious legumes but also soil-improving benefits. As a nitrogen-fixing plant, black-eyed peas actually improve your garden soil while providing a nutritious harvest that’s packed with protein and fiber. Whether you have a sprawling garden or just a few containers on your patio, black-eyed peas are surprisingly easy to grow and can thrive in the warm summer months with minimal care.
Table of Contents
Materials & Supplies
To successfully grow black-eyed peas, you’ll need:
- Black-eyed pea seeds: Look for varieties suited to your region; ‘California Blackeye’ and ‘Queen Anne’ are popular choices
- Garden soil or potting mix: Well-draining soil with moderate fertility
- Compost or aged manure: For enriching the soil
- Garden space or containers: At least 8-10 inches deep for proper root development
- Trellis or stakes (optional): For climbing varieties
- Garden gloves and basic tools: Trowel, rake, watering can
- Organic fertilizer: Low in nitrogen but high in phosphorus and potassium
- Mulch: Straw or wood chips work well
For those growing in containers, choose pots that are at least 12 inches in diameter and have drainage holes at the bottom.
Timing / Growing Schedule
Black-eyed peas are warm-season crops that thrive when soil temperatures reach at least 60°F (16°C). Plan your growing schedule as follows:
- Planting time: 2-3 weeks after the last spring frost
- Germination: 7-14 days
- Growth period: 60-90 days from seed to harvest
- Harvesting time: Mid to late summer
Unlike cool-season peas, black-eyed peas love the heat and will actually produce better during the warmest months of summer. They grow faster than many other garden vegetables, giving you a quicker return on your gardening investment.
Step-by-Step Instructions
Prepare your soil: Work compost into your garden bed to a depth of 8-10 inches. For containers, mix equal parts potting soil and compost. Black-eyed peas prefer slightly acidic to neutral soil (pH 6.0-7.0).
Plant seeds directly: Sow seeds 1 inch deep and 3-4 inches apart in rows spaced 2-3 feet apart. For container growing, plant 3-4 seeds per 12-inch pot.
Water thoroughly: Keep soil consistently moist but not waterlogged until seedlings emerge. Pro tip: Water in the morning to reduce disease risk.
Thin seedlings: Once plants reach 3-4 inches tall, thin to 6 inches apart to allow proper air circulation and growth.
Apply mulch: Add 2-3 inches of organic mulch around plants to preserve moisture and suppress weeds.
Support if needed: Some varieties may benefit from light staking or a small trellis, especially in windy areas.
Monitor for pests: Watch for aphids and bean beetles. A strong spray of water can dislodge aphids, while row covers help protect against beetles.
Nutritional Benefits
Black-eyed peas pack impressive nutritional value, making them worth the garden space:
- Excellent source of plant-based protein (about 8g per half-cup)
- Rich in dietary fiber, supporting digestive health
- High in folate, important for cell function and tissue growth
- Good source of iron, potassium, and magnesium
- Low in fat and calories while being highly satiating
Growing your own ensures the freshest possible harvest without pesticides or preservatives.
Tips and Alternative Methods
- Container gardening: Choose bush varieties like ‘Queen Anne’ for container growing.
- Companion planting: Grow alongside corn, cucumbers, or sunflowers for natural pest control.
- Succession planting: Sow seeds every 2-3 weeks for continuous harvests through summer.
- Water conservation: Consider drip irrigation to deliver water directly to roots.
- Heat management: In extremely hot climates, provide afternoon shade to prevent flower drop.
Common Mistakes to Avoid
- Overwatering: Soggy soil leads to root rot. Water only when the top inch of soil feels dry.
- Early planting: Planting in cold soil results in poor germination and stunted growth.
- Crowding plants: Insufficient spacing reduces air circulation and increases disease risk.
- Overfertilizing: Too much nitrogen promotes lush foliage at the expense of pod production.
- Late harvesting: Leaving pods too long on the plant results in tough, less flavorful peas.
Storage / Maintenance Tips
Keep your plants productive with these maintenance practices:
- Water consistently during dry spells, providing 1-1.5 inches weekly
- Harvest regularly to encourage continued production
- Store fresh black-eyed peas in pods in the refrigerator for up to 5 days
- For long-term storage, shell and blanch peas before freezing
- To dry peas, allow pods to dry completely on the plant before harvesting
Conclusion
Growing black-eyed peas offers a perfect combination of garden benefits: they’re heat-tolerant, soil-improving, and nutritionally dense. With minimal effort, you can enjoy a continuous summer harvest of these versatile legumes that work beautifully in salads, soups, and traditional dishes. Start with just a few plants and you’ll likely find yourself expanding your black-eyed pea patch each year as you discover their ease of growth and delicious flavor.
FAQs
How many black-eyed peas will one plant produce?
A single plant typically yields about 20-30 pods, with each pod containing 10-12 peas, giving you approximately 200-360 peas per plant.
Can I grow black-eyed peas in partial shade?
While they prefer full sun, black-eyed peas can tolerate partial shade with at least 4-6 hours of direct sunlight, though yields may be reduced.
Do black-eyed peas need to be staked?
Bush varieties don’t require staking, but semi-vining types benefit from light support, especially in windy conditions or when grown in containers.
Are black-eyed peas drought-resistant?
Yes, once established, black-eyed peas have good drought tolerance thanks to their deep root systems, making them an excellent choice for water-conscious gardeners.